Sadly, no four-leaf clovers in this bunch to signify good luck, but maybe you'll consider yourself fortunate anyway if you make yourself a little St. Patrick's Day shamrock project. This post will be partly reprinted from my St. Patrick's Day Quilt Project tutorial--the original larger version can be found by clicking the link in the side bar--but the sizes are adjusted in this post to produce a 10" little hanging or square--add a couple borders and it will be the perfect size to hang in one of those wire table stands.
Here's what my little "block" looks like so far--I'm planning to add borders but I ran out of time tonight:

So, are you ready to get started?


Here's what my little "block" looks like so far--I'm planning to add borders but I ran out of time tonight:

So, are you ready to get started?

We'll start with our green and background fabrics. For my background, I'm using a cream/neutral, so for purposes of these directions, I'll refer to it as neutral, but you may chose to use a different color. Just make sure you have enough contrast between the green and the background color.

For this step, you'll need to cut:
GREEN:
Twelve (12) 2-1/2" squares
Four (4) 1" x 4" strips
NEUTRAL:
Forty (40) 1" squares
Four (4) 2-1/2" squares
For sashing--
Two (2) 1" x 4-1/2" strips
Three (3) 1" x 9" strips
Two (2) 1" x 10" strips
We'll start with constructing the stem pieces first. You'll make four of these blocks.
Cut the four neutral 2-1/2" squares on one diagonal, so each square will be divided into two triangles.

On the bias edge of four of the triangles, sew a green strip, centering the triangle on the length of the strip (the strip will extend about 1/4" above and below the triangle).

Press the seam allowance to the green strip. You should have four pieces that look like the photo above.

Add the remaining triangle pieces to the other side of the green strip and press, again pressing the seam allowance to the green. Using your ruler and rotary cutter, square up the blocks to 2-1/2" and trim away excess from stems.

Using a pencil, draw a diagonal line on four of the 1" squares. Sew one square to one end of each of your stem blocks.

Trim excess (you may chose to only trim the center layer or both center and bottom layers). Press into place (see blocks above the center example).

In the same way you added the square to the bottom of the stem block, add squares to three of the four corners of each of the 2-1/2" green squares. Trim and press into place.

Lay out three "leaf" blocks and a stem block as shown. These will be sewn together four-patch fashion and pressed.

Make four shamrock blocks. At this stage, each block will measure 4-1/2".
Here's what mine looked like before I added the sashing--you can see I chose to make this batch with scrappy neutral backgrounds:

Here's what mine looked like before I added the sashing--you can see I chose to make this batch with scrappy neutral backgrounds:
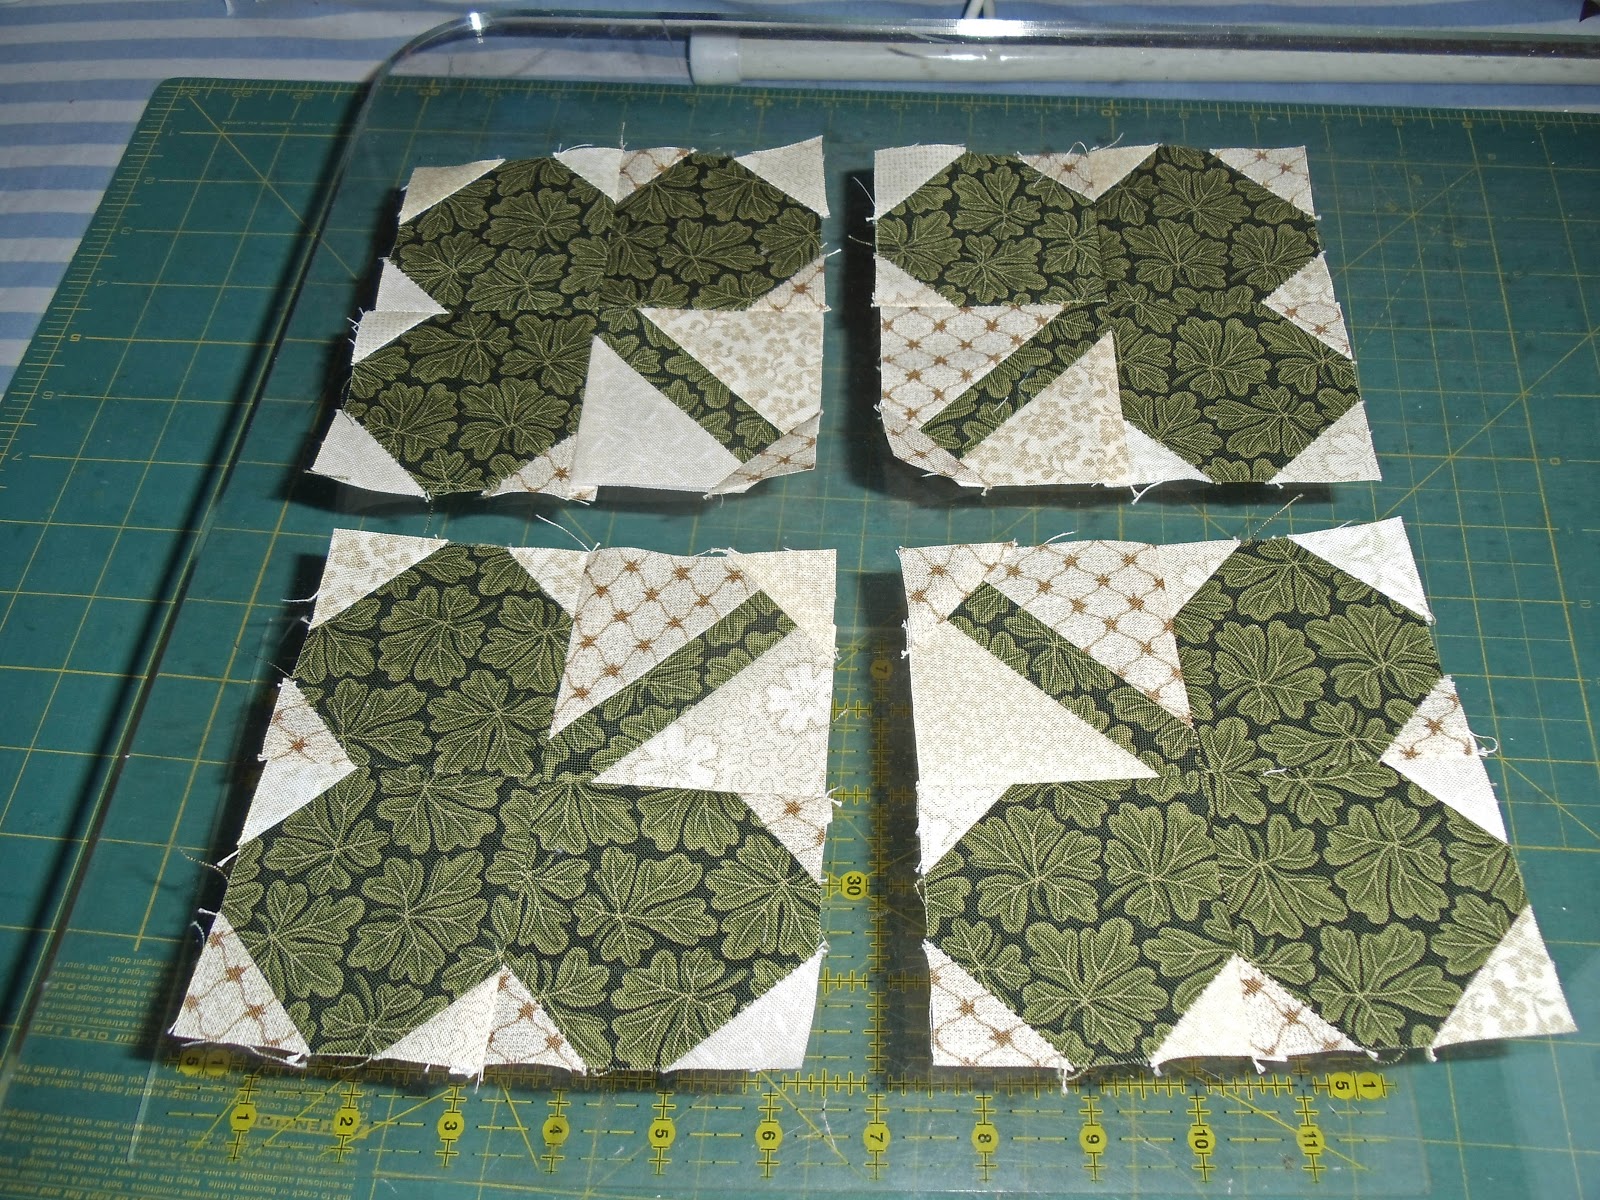
Finally, add sashing strips to join the blocks--the two 4-1/2" strips between each pair of blocks and one of the 9" strips to join all four blocks together. Then add the other two 9" strips on the top and bottom and the two 10" strips to either side.
Now you're as far along as I am. I'm not sure what I'll use for my borders, but I'll go digging around in my scrap basket to see what's there. I'm leaning toward something purple or lavender, but I'll see what I find.
And besides this little project? I think like the hearts I made for February, I'm going to make a stack of shamrock blocks to turn into coasters for my friends. AND I have a couple other little ideas in mind--a mug mat and perhaps a Christmas gift for next Christmas? Well, we'll see. I'll be "off" the blog tomorrow night and sewing with friends on Saturday, so who knows what whim will strike me during that time. But you know whatever it is, I'll share it with you when I come back again. See you later!


4 comments:
Thank you o much for this!
I don't remember when you posted that Shamrock tutorial Kim but that's when I made my Shamrock quilt. I'm finally going to quilt it very soon so I can display it for St. Patrick's Day. Your friends are going to love the Shamrock coasters.
Oh, Kim. Thanks for posting this again. I just put the top together, but I'm struggling with my border selection..can't decide whether to just quilt it as is and put it on the table or find another border. Your instructions were very good.
Cute! I love shamrocks. Thanks!!
Post a Comment