
In case they're unfamiliar to you, they're fabric coasters. (Sorry for the less than stellar photography, but it's late and I'm not taking the time tonight to run my photos through Photoshop.) I was brainstorming to come up with a gift idea for some people I wanted to remember with a little something for Christmas and these came to mind. When I last made them, I don't think charm squares had come out yet. Now charm packs make them super easy to make--after all, charm packs contain 42 squares that are already color coordinated and the right size, so there's very little cutting. I thought I'd do a really quick tutorial in case you've forgotten or perhaps never made these--I think they still make pretty good gifts.
So, what you need for each coaster are four 5" charm squares folded and pressed on the diagonal. You need a fifth square for the bottom of the coaster--or a coordinating fat quarter can be cut for the backs, and then a charm pack will yield ten coasters.

You'll also need to cut batting--one for each coaster, also 5".

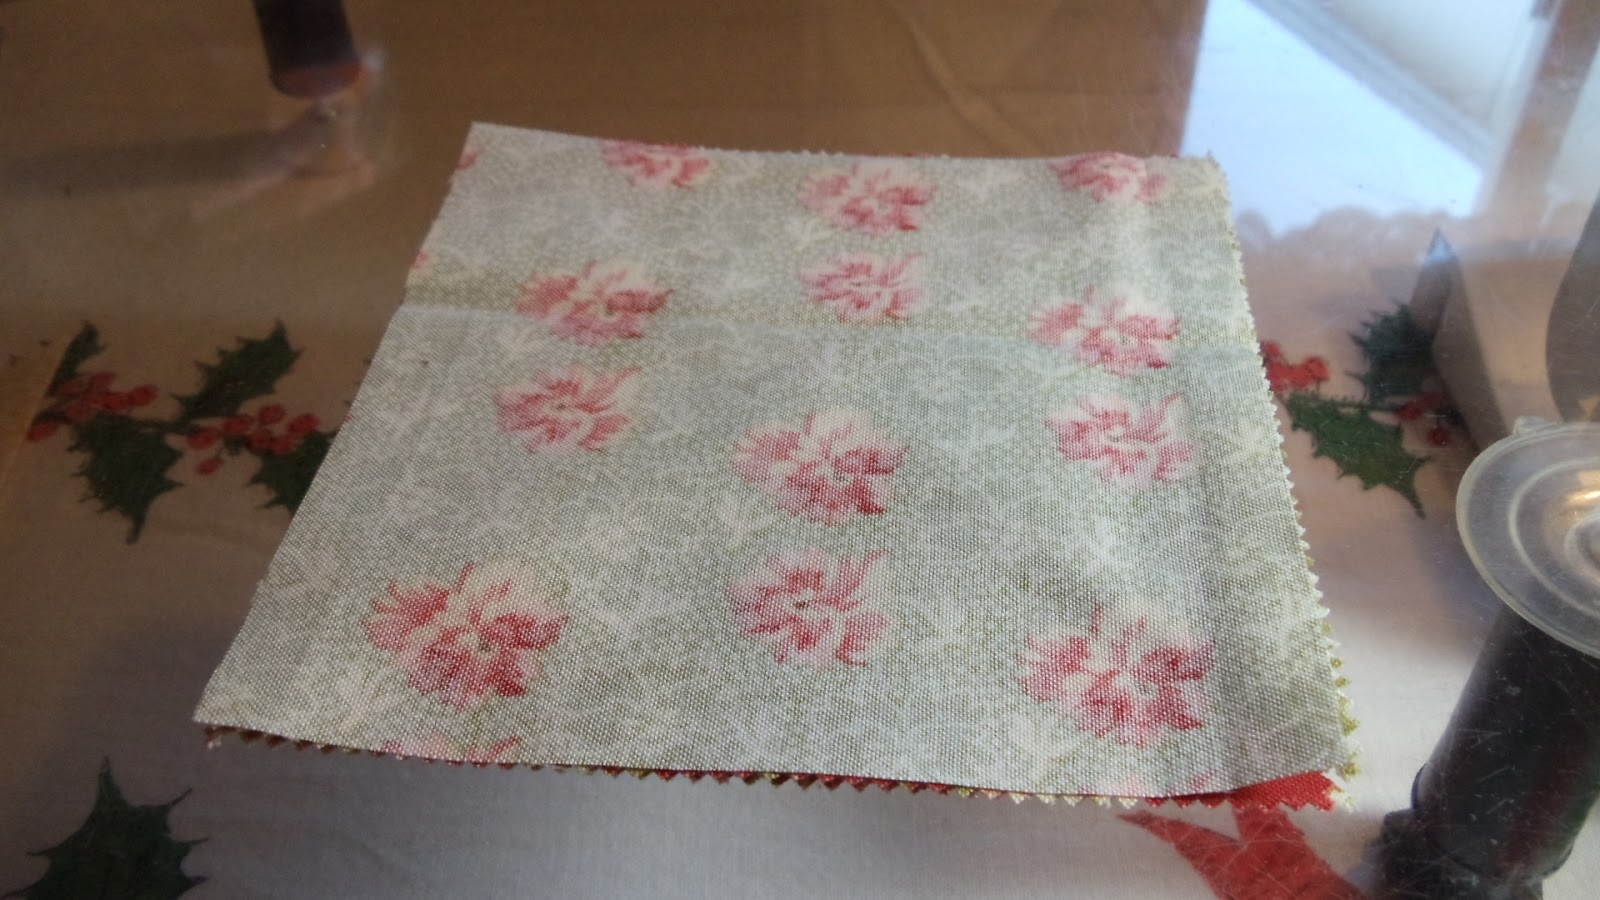
Select the four triangles for the coaster.

You know how to fold box flaps over one another and when you get to the fourth side, you have to tuck it under the first flap? Layering these triangles is just like that.

Layer the triangles with the "good" side up--that's what will end up on top when they're all sewn and turned.
Place the one bottom square on top of the overlapped triangles, "good" side down.
Next, layer the square of batting on top of that.

Carefully flip the "sandwich" over, adjust so the corners all line up, and begin stitching, using a 1/4" seam allowance. I also like to use my walking foot with all these layers.

Keep stitching all the way around, overlapping the beginning stitches a little bit so they won't come out.

Trim the corners almost up to the stitch lines.

Where all the triangles come together in the center, reach through that little hole and start turing the fabric--turn so the seams are on the insides.

After the coaster is turned right side out, press with a hot iron--I like steam too.

Before long, you'll end up with a nice pile of coasters and, perhaps, a couple of your Christmas gifts done!


2 comments:
whoa...I am going to have to go try this and I'll get back to you...
Thank you! Thank you! I had seen one of these IRL (in real life) and wondered how the heck it was constructed and now I know! Off to my own sweat shop for Construct-o-Thon!
Post a Comment