Here we are, after a little break to stretch our fingers, back to the applique tutorial. At this point, all of our pieces are prepared--the fabric is ironed onto the freezer paper and the raw fabric edges have been ironed under and are stiffened with starch. Time to talk a little bit about the other important part of the applique block: the background.
Some designers like to keep their backgrounds simple and some designers like to design pieced backgrounds. For instance, Anne Sutton of Bunny Hill often designs pieced backgrounds, while the Shabby Fabrics/Country Cottages blocks I've shown you are all of one piece.
For backgrounds that are all of one piece, I like to cut them a little larger than the pattern specifies and trim them to size after I've added the applique. Why? Because the process of stitching the applique to the background, often in layers, tends to shrink and slightly distort the background fabric a bit, so by cutting it larger than needed, I have an opportunity at the end to trim the block to the right size.
With pieced backgrounds, there aren't any good options--we simply need to piece the background as directed by the designer. On the positive side, pieced backgrounds often lend more interest to the finished quilt. On the negative side, after it's appliqued, the block may not be exactly the correct size, so we need to take a little extra care in adding the applique to ensure the background isn't distorted.
Another question we must consider is whether to trace the applique design onto the background. Designers usually include a layout page showing where each piece belongs on the background, and using a light box, the layout can be traced onto the background. Alternatively, we can simply eyeball the position of the pieces when we "audition" the layout on the background. Normally I make the second choice and lay out the applique pieces where it looks like they go. Why? Because it often seems that when I trace the pattern onto the background, the pieces don't line up just perfectly and my choices to correct the problem are somewhat limited. I have, in the past, ended up completely re-doing applique pieces so they will fit better, and that feels like wasted time to me!
Now that we have backgrounds figured out, let's get back to the next part--the glue part. Here's what I use--a water soluble applique glue and wooden toothpicks to apply the glue. That's it.
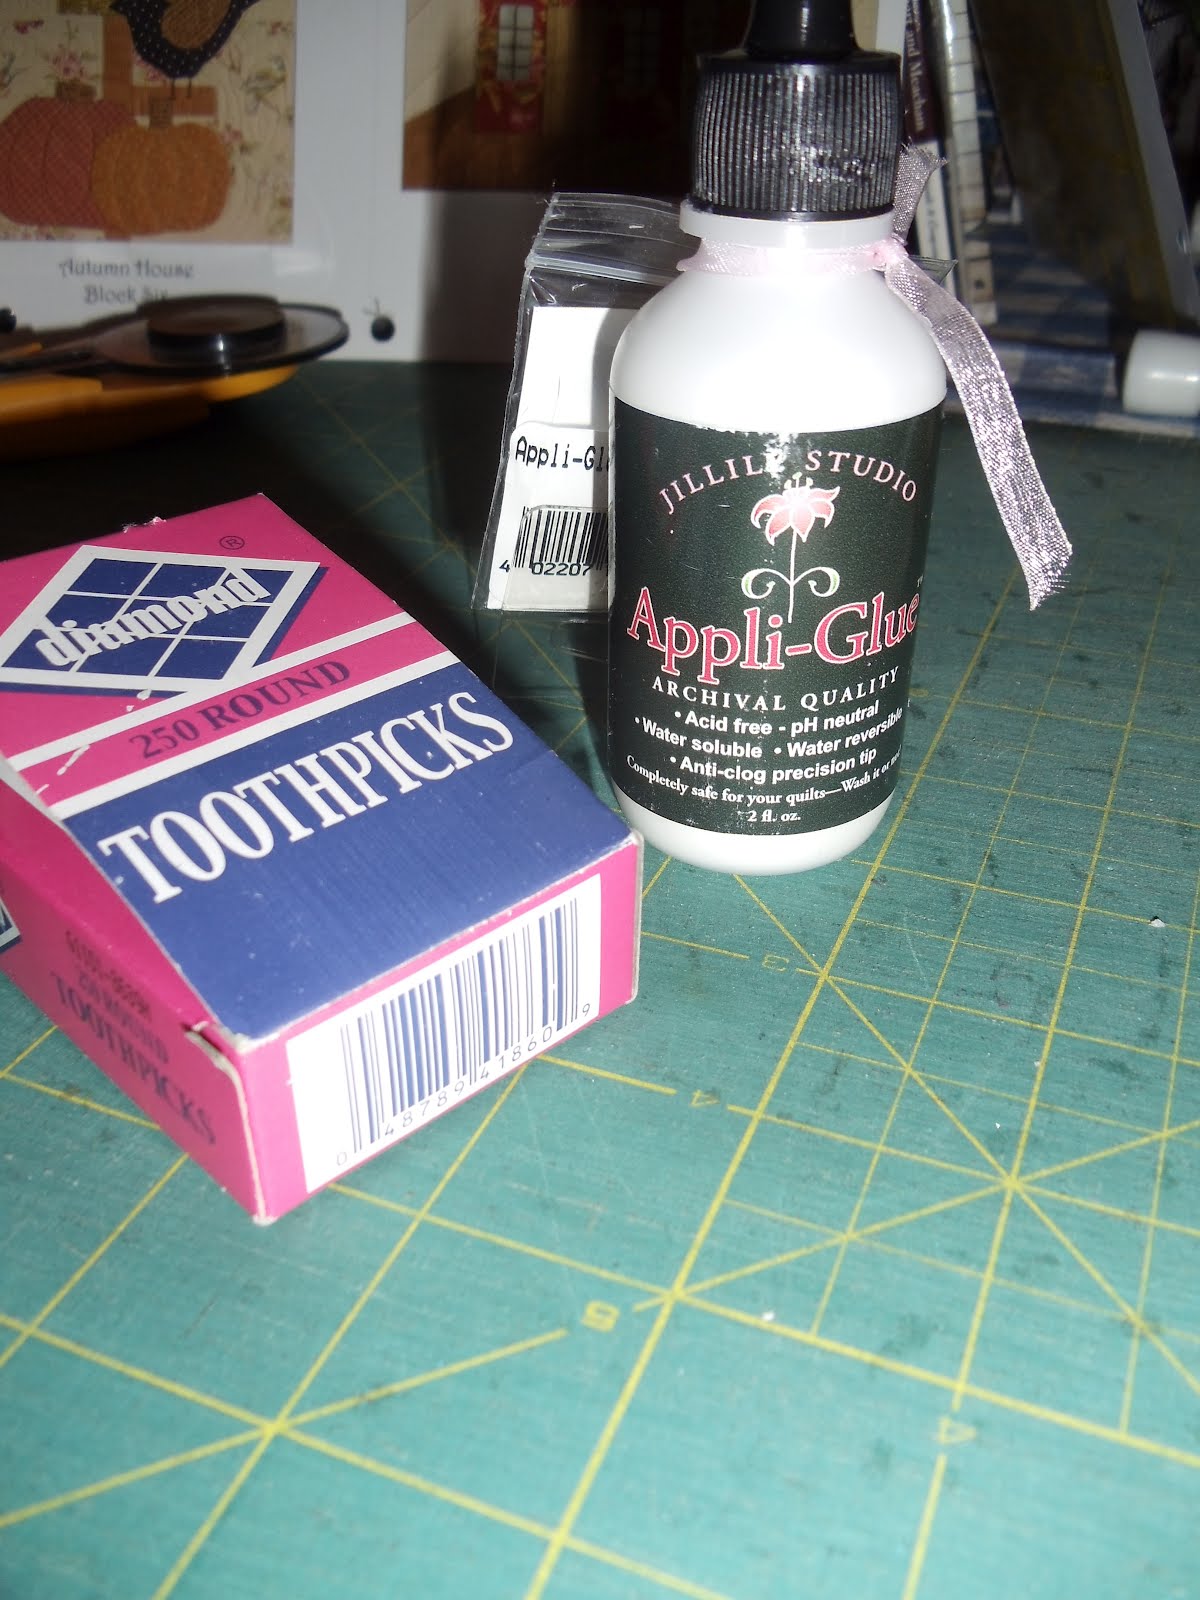
Using the water soluble glue means that I can wash the glue out if I make a mistake. It should also wash out of the finished product later. I like that.
Before I start, I like to lay out all the applique pieces in the position they'll go in--just like I laid out the freezer paper pieces before. Once I've made sure I have all the pieces, they all fit together, and the fabrics are correct, I'm ready to begin. First, we need to remove the freezer paper. I do that piece by piece, just as I'm ready to use it.

The starch should hold the edges under, but they can be touched up with the iron before gluing if the seams aren't flat.

Next, lay a few pieces in place--and remember to check back to the pattern to see if the pieces are numbered because you'll want to start by positioning piece number 1, followed by piece number 2, then piece number 3, etc.

When you know where the piece will go, apply a slight bit of glue along the seam allowance. Don't apply the glue too close to the folded edge, though, because you'll need to applique the edge, and pushing a needle through dried glue isn't easy. And be sparing with the glue--you just need enough to hold the pieces into place for sewing--think about how pins will secure something without pinning every little bit, right?

You might want to glue a couple pieces in place and then applique those pieces before moving on. Or you might want to glue ALL the pieces in place before sewing them down. Much of the time, I glue first and then sew. Here's a photo of an Autumn House block with all the pieces glued into place and ready for stitching:

And that pretty much concludes all of the prep work for the freezer paper and starch method of applique. Would you like me to do a post or two about hand applique, techniques, and tips? I'm not an expert, but I've taken some classes and might know a thing or two I can share. Let me know if you'd like to hear more.


14 comments:
Yes, please. I would love a post on hand applique, techniques, and tips. You are so sweet to do this for us.
Applique is one of my weaknesses...I stink at it but LOVE applique blocks. Thanks for the tutorial on this method, and I would love to see how you hand applique. :)
Yes, please.
I would LOVE it if you could do a post about hand appliqué techniques and tips! Also as a side note, HOW do you find the time to do all of this lovely quilting every day as I know you have said that you work full time??? Do you have a schedule that you follow?
PS This tutorial was just great and very, very helpful - Thanks so much!
Yes please, thanks Kim I have enjoyed your tutorials on this. Thanks for taking the time to do this. I ordered the trolley tool this morning.
Yes, Please give us your applique tips! I learned to do applique by needle turn. I like your method and will try it. It seems like I have to carry so much stuff with me for needle turn. Thanks!
Well Done! Imelda's hands are so pretty. I am grateful for your tutorial and the way that your writing talent makes everything so clear (especially for people like me...). Hugs
Great tutorial & pictures, thank you! Yes,please continue on & share more about applique. I prefer hand applique but perhaps you have a great method for machine applique that we all could use.
Actually I meant more about hand applique & that I would also like to learn your technique/method for machine applique.Thanks ~
I would love a tutorial on hand applique. I tried needle turn once with disastrous results. I love applique though and want to try again. Since funds are limited right now I can't afford to take any classes so tutorials like this are really great. Thank you so much for all your time and effort you dedicate to all of us. You are appreciated!
Your work is very pleasing. I would like to know your applique techniques and tricks. Have really learned a lot from the tutorial so far.
I'm a newer quilter and am just thinking about trying my hand at applique. So the timing was perfect and your instructions/pictures so clear and helpful. Thank you SO VERY much! Do you always hand applique or do you sometimes machine applique? Is there a time when hand or machine is preferred over the other or is it personal preference? I would love for you to continue sharing your wealth of knowledge and experience about hand applique. Thank you in advance!!
Yes, please. I would like to know how you deal with corners, inside and outside.
Also, I trace my pattern on clear vinyl and pin it over the background fabric across the top. Then I slide my applique pieces under the vinyl, lining them up with the markings on the vinyl. Once in place, I carefully lift the vinyl and pin them in place. It really helps me be accurate without marking the fabric. I want to try your method with the glue next time. Thanks for the tutorial! Love reading your blog!
Yes please. This is great stuff. Thanks so much for taking the tie to create this tutorial!!! Your work is amazing!
Post a Comment